Power Apps how to configure using blank screens
Power Apps how to configure using blank screens
Lets learn from scratch how to create an power app using databases available using "Common Data Services".
Using PowerApps, you can quickly build custom business apps that connect to your business data stored either in the underlying data platform (Common Data Service) or in various online and on-premises data sources (SharePoint, Excel, Office 365, Dynamics 365, SQL Server, and so on).
Lets learn from scratch how to create an power app using databases available using "Common Data Services".
Create a canvas app from scratch using Common Data Service
When you build an app from Common Data Service, you don't need to create a connection from PowerApps, as you do with data sources such as SharePoint, Dynamics 365, or Salesforce. You need only to specify the entities that you want to show or manage in the app.
Prerequisites
- Before you create an app from scratch, familiarize yourself with PowerApps basics by generating an app and then customizing that app's gallery, forms, and cards.
- Switch to an environment in which a database has been created with sample data. If you have an appropriate license, you can create an environment to meet this need.
- To create an app, you must be assigned to the Environment Maker security role.
Open a blank app
- Sign in to PowerApps.
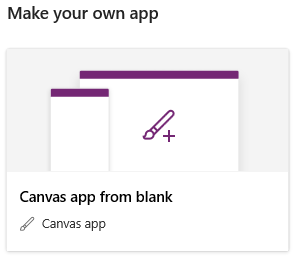
- Under Make your own app, select Canvas app from blank.
- Specify a name for your app, select Phone, and then select Create.You can build an app from scratch for tablets, but this topic shows building an app for phones.
Specify an entity
- In the middle of the screen, select connect to data.
- In the Data pane, select Common Data Service, select the Accounts check box, and then select Connect.
- Close the Data pane by selecting the close icon in the upper-right corner.
Add a list screen
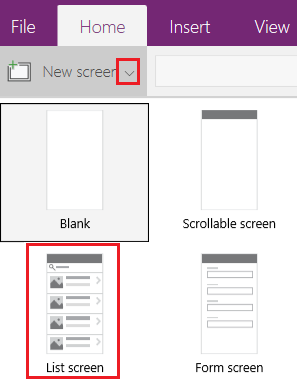
- On the Home tab, select the down arrow for New screen, and then select List.
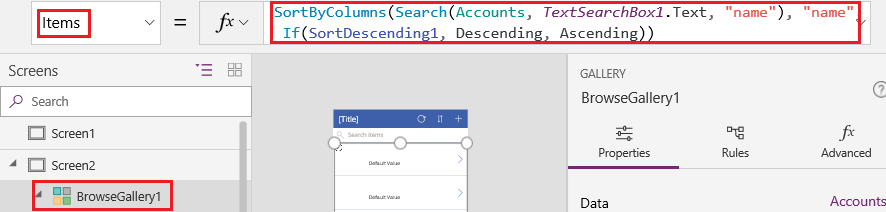
- In the left navigation bar, select BrowseGallery1, and then set the value of the Items property to this formula:
SortByColumns(Search(Accounts, TextSearchBox1.Text, "name"), "name", If(SortDescending1, SortOrder.Descending, SortOrder.Ascending))This formula specifies that:- The gallery should show data from the Accounts entity.
- The data should be sorted in ascending order until a user selects the sort button to toggle the sort order.
- If a user types or pastes one or more characters into the search bar (TextSearchBox1), the list will show only those accounts for which the name field contains the characters that the user specified.You can use these and many other functions to specify how your app appears and behaves.
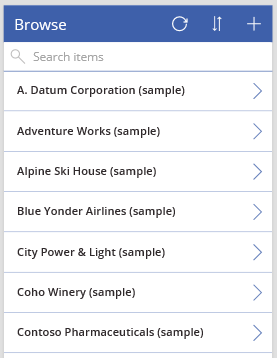
- Set the gallery's layout to show only the name of each account, and configure the title bar to show the word Browse, as Customize a gallery describes.
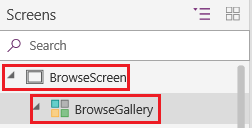
- In the left navigation bar, hover over Screen1, select the ellipsis icon (...), and then select Delete.
- In the left navigation bar, hover over Screen2, select the ellipsis icon (...), and then select Rename.
- Type or paste BrowseScreen, and then rename the gallery in that screen as BrowseGallery.
Add a form screen
- Repeat the first step of the previous procedure, except add a Form screen instead of a List screen.
- Set the form's DataSource property to Accounts and its Item property to BrowseGallery.Selected, as the Advanced tab of the right-hand pane shows.

- On the Properties tab of the right-hand pane, select Edit Fields to open the Fields pane.
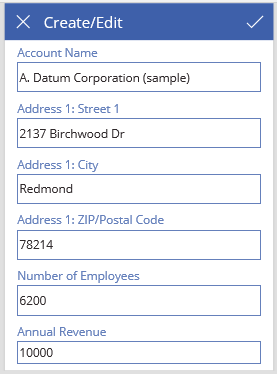
- Select Add field, and then select the check boxes for these fields:
- Account Name
- Address 1: Street 1
- Address 1: City
- Address 1: ZIP/Postal code
- Number of Employees
- Annual Revenue
NoteOutside of this scenario, you can create a custom field by selecting New field, providing the required information, and then selecting Done. More information: Create a field.
- Select Add.
- Set the title bar's Text property to show Create/Edit.The screen reflects your changes.
- Rename this screen FormScreen.
Configure icons
- On the BrowseScreen, set the OnSelect property of the circular icon near the top of the screen to this formula:
Refresh(Accounts)
- Set the OnSelect property of the plus icon to this formula:
NewForm(EditForm1); Navigate(FormScreen, ScreenTransition.None)
- Set the OnSelect property of the first arrow pointing to the right to this formula:
EditForm(EditForm1); Navigate(FormScreen, ScreenTransition.None)
- On the FormScreen, set the OnSelect property of the cancel icon to this formula:
ResetForm(EditForm1);Navigate(BrowseScreen, ScreenTransition.None)
- Set the OnSelect property of the checkmark icon to this formula:
SubmitForm(EditForm1); Navigate(BrowseScreen, ScreenTransition.None)
- On the Insert tab, select Icons, and then select the Trash icon.
- Set the Trash icon's Color property to White and its OnSelect property to this formula:
Remove(Accounts, BrowseGallery.Selected); Navigate(BrowseScreen, ScreenTransition.None)
Test the app
- In the left navigation bar, select BrowseScreen, and then open Preview by pressing F5 (or by selecting the play icon near the upper-right corner).

- Toggle the list between ascending and descending sort orders, and filter the list by one or more characters in the account name.
- Add an account, edit the account that you added, start to update the account but cancel your changes, and then delete the account.

Comments
Post a Comment